Support the replacement
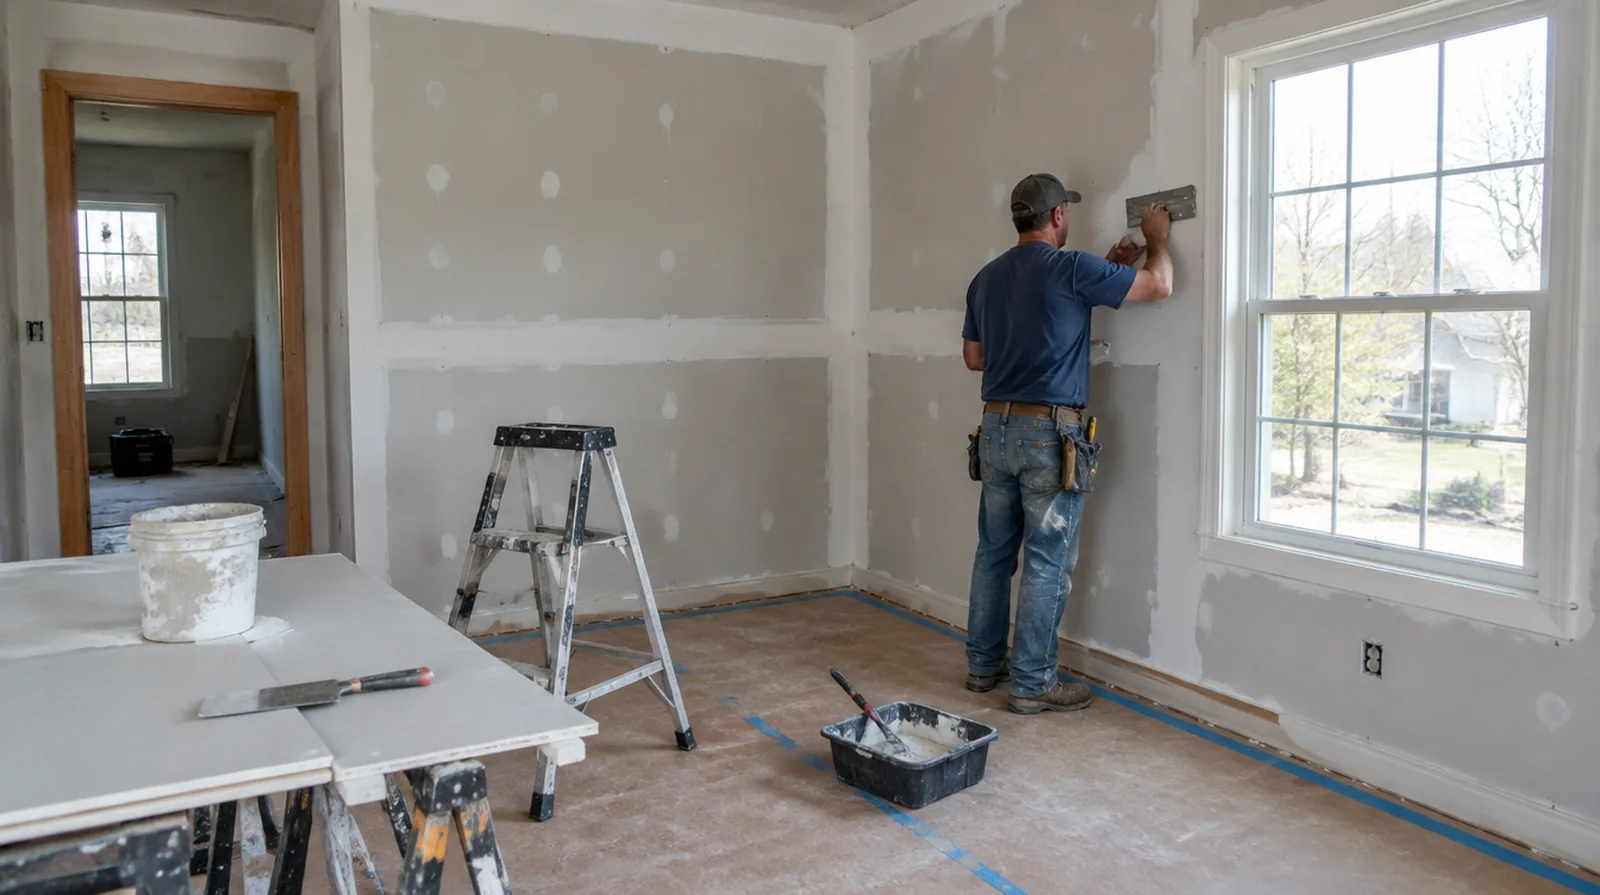
Larger openings need a fitted board patch secured to framing or suitable backing rather than a thick mound of compound. The replacement panel thickness should match the existing face so the joint can finish level. When more damage could be hidden, ask how any added scope will be documented before extra material is removed or replaced.
Protect adjacent surfaces
Small wall repairs can still distribute fine dust through the interior if protection is inadequate. Identify the possessions to move and agree which adjacent spaces need to stay usable. When the same defect has returned, share information about previous repair methods so the next assessment can consider why they did not last.
Set the paint boundary
Even a well blended patch can remain noticeable when touched up with an aged or unavailable paint color. Repainting the full wall from corner to corner may give a more consistent appearance. If access passes through a shared space, arrange protection and a delivery route that do not unnecessarily obstruct other occupants.
Review with side lighting
A patch that looks flat from the doorway may still show a small hollow under a nearby window. Checking from more than one angle helps separate surface imperfections from differences in coating sheen. If the wall surface work belongs to a broader renovation, coordinate its order with flooring, cabinetry and trim rather than scheduling finishing in isolation.
Prepare for primer
The absorbency of fresh drywall finishing material differs from that of the painted surface beside it. Establish whether suitable primer is part of the repair or will be applied by another contractor. If scheduling is the main concern, separate hands on labor from drying intervals instead of treating every visit as a full day of active work.
Handle small fastener marks
A visible screw or nail bump can indicate movement between the board and its supporting framing. Correct the fastening condition as needed before covering the mark with a new finishing coat. When panel replacement exposes a cavity, resolve any required inspection before that opening is closed and the surface finishing begins.
Reinforce panel seams
The connection between old board and a patch needs reinforcing joint treatment. Embed the chosen tape fully in its intended compound so the edges bond without bubbles. For walls beside bright windows, review a dry sample from an oblique angle as well as looking straight at the repaired surface.
Choose the patch boundary
The repair must reach gypsum and paper that remain intact, instead of stopping at the visible outline of the hole. A tidy rectangular cut often provides stronger backing than following an irregular broken edge. For walls beside bright windows, review a dry sample from an oblique angle as well as looking straight at the repaired surface.
Feather beyond the opening
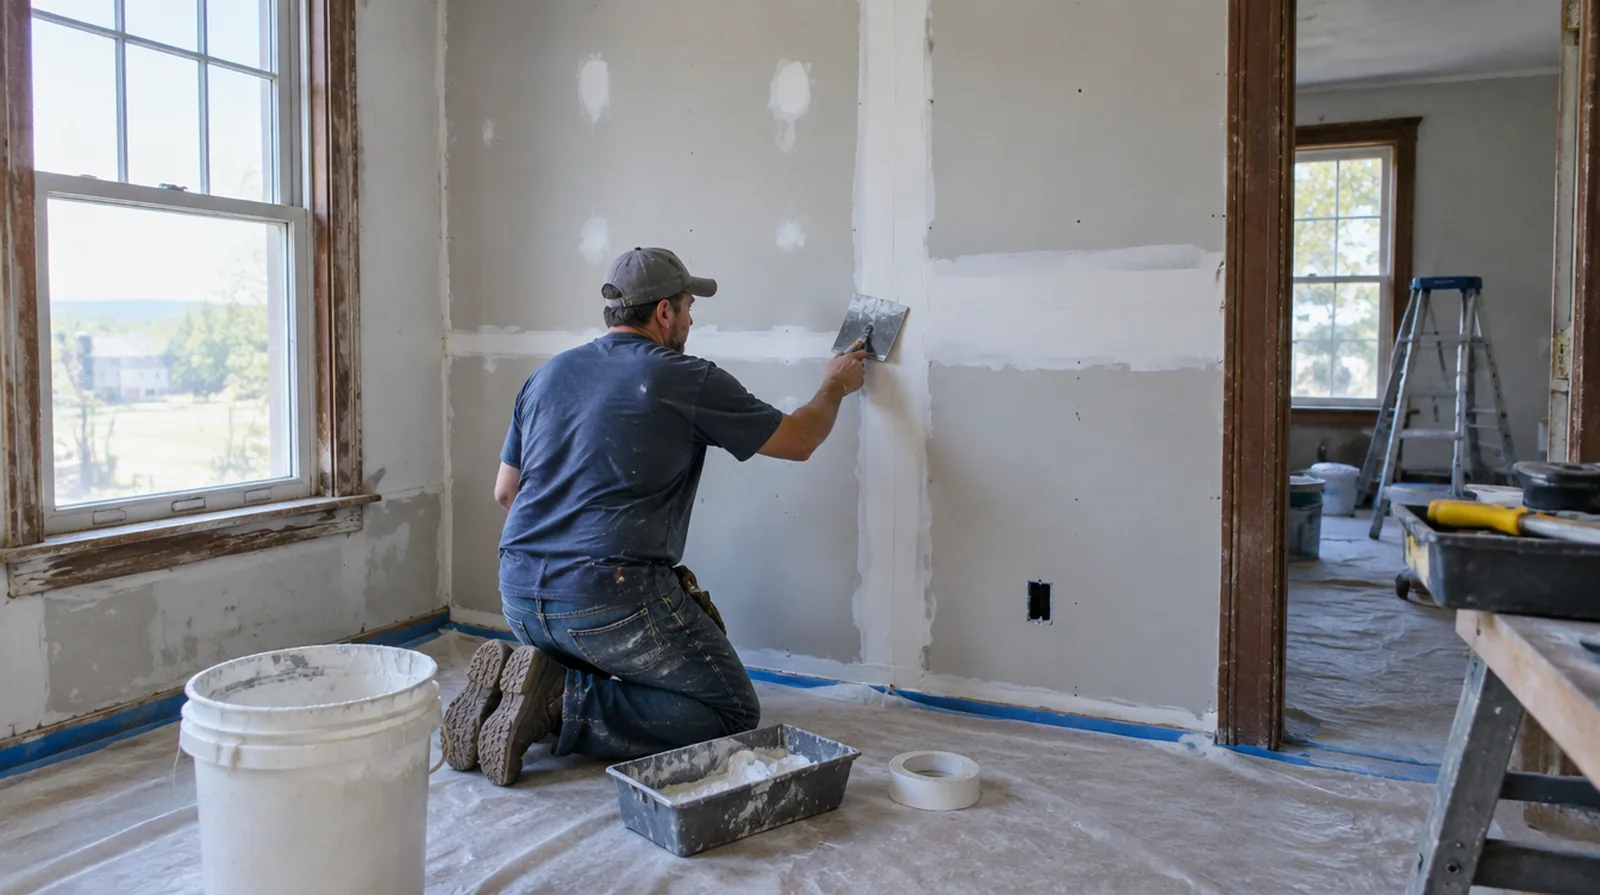
Concealing a patch perimeter requires a tapered finishing area wider than the opening itself. The gradual transition is especially important where a window lights the surface from the side. Where existing floors will remain, specify protective measures and review the path used by panels, equipment and finishing tools.
Build thin finishing coats
Shaping a repair through thinner coats gives more control than depositing all the material at once. Judge the previous layer only after it has dried sufficient for the next operation. If the ceiling or wall includes fittings, identify the person responsible for removing and reinstalling each item before the work begins.
Project context in Independence
In a stairwell, ladders and planks need a safe setup before any finishing begins. Agree whether the repair covers the full stair wall or only the cracked area.
Scope questions before finishing
For a tightly furnished room, plan temporary storage and the minimum working clearance before material is carried into the property.
If access passes through a shared space, arrange protection and a delivery route that do not unnecessarily obstruct other occupants.
For walls beside bright windows, review a dry sample from an oblique angle as well as looking straight at the repaired surface.
In a room with little free floor space, identify temporary storage for belongings and establish adequate clearance for the work before delivery.
For an older repair with no clear history, describe when the mark first appeared and whether it has changed through more than one season.
When panel replacement exposes a cavity, resolve any required inspection before that opening is closed and the surface finishing begins.
For a small repair with extensive setup, compare the total scope rather than assuming the price should follow the hole dimensions alone.
If the interior will remain occupied, identify a workable separation between the protected room and the space that still needs daily access.
For a surface that will receive wall covering, share the product requirements early so the finishing stage supports the planned decorative treatment.
If the existing finish is unusual, keep a small reference sample or a close photograph to support the discussion about blending and restoration.
Where light reflects along the wall surface, inspect the complete plane instead of limiting the review to the edge immediately next to the repaired section.
When painting is outside the proposal, describe the remaining decorative preparation clearly so another contractor can price that stage accurately.
Explore the Independence drywall overview for related options, or read the project planning information before arranging the next stage.
More planning details for Independence
Independence has many older frame houses where stairwell walls move a little between humid summer and dry winter heating. Seams that crack every winter usually need better reinforcement, not just more compound. Tell the assessor when the crack appears and whether it closes in summer.