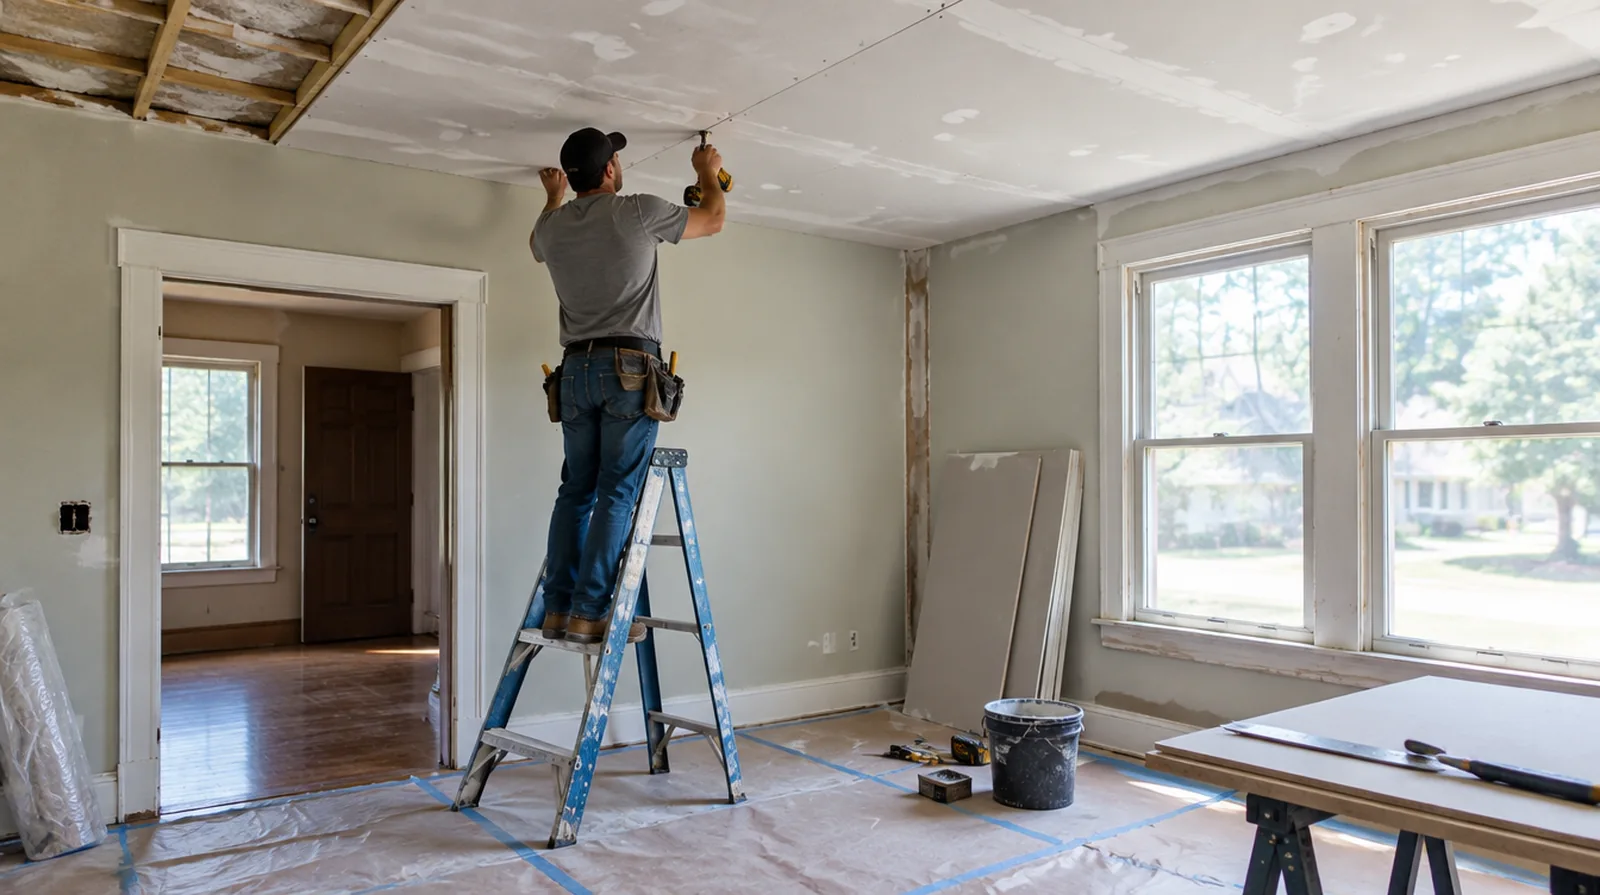
Treat the joints overhead
Reinforce the ceiling patch joints and taper the finishing layers well beyond their edges. Overhead seams can be conspicuous because windows often send light almost parallel to the ceiling. For work spread across different planes, record their dimensions separately and describe the boundary of the treatment on each surface.
Separate fixtures from board work
Electrical fittings, sprinkler components and mechanical grilles can involve other trades or building approvals. Clarify who disconnects and reinstalls anything that interferes with access to the damaged area. At the handover inspection, review the finish from ordinary room positions using the lighting conditions that were agreed for the work.
Evaluate sagging sections
A drooping panel requires an assessment of fastening, support and material condition rather than a surface skim alone. Keep people away from an unstable area while the appropriate professional evaluates it. When a quote includes multiple visits, ask what happens during each stage and when the room needs to remain undisturbed between coats.
Cut back to sound material
A reliable replacement cannot depend on board that has lost strength through water exposure. Cut to a stable boundary that also permits secure fixing and an effective finishing blend. When the wall has strong reflected light, look at the full plane instead of judging only the narrow strip immediately beside the patch.
Check the source of damage
A ceiling stain or soft area may be caused by plumbing or another moisture source above the room. The cause needs resolution before cosmetic repair can reasonably be expected to last. Where existing floors will remain, specify protective measures and review the path used by panels, equipment and finishing tools.
Add reliable backing
Support a ceiling replacement mechanically at its perimeter rather than using finishing compound as a structural attachment. Fit compatible board thickness so the old and new faces meet without an avoidable step. Where existing floors will remain, specify protective measures and review the path used by panels, equipment and finishing tools.
Address isolated stains
A dry repaired ceiling may still need a compatible stain blocking primer before decorative paint. Primer selection depends on the remaining discoloration and ought not to be used to conceal active moisture. When the wall surface has strong reflected light, look at the full plane rather than judging only the narrow strip immediately beside the patch.
Plan overhead access
Plan suitable overhead working access around the space height and its contents. Delicate floors, bulky furniture and fittings may add more setup work than the patch dimensions suggest. For an initial assessment from pictures, provide an overall room photograph and a detailed view of the defect so both context and scale are apparent.
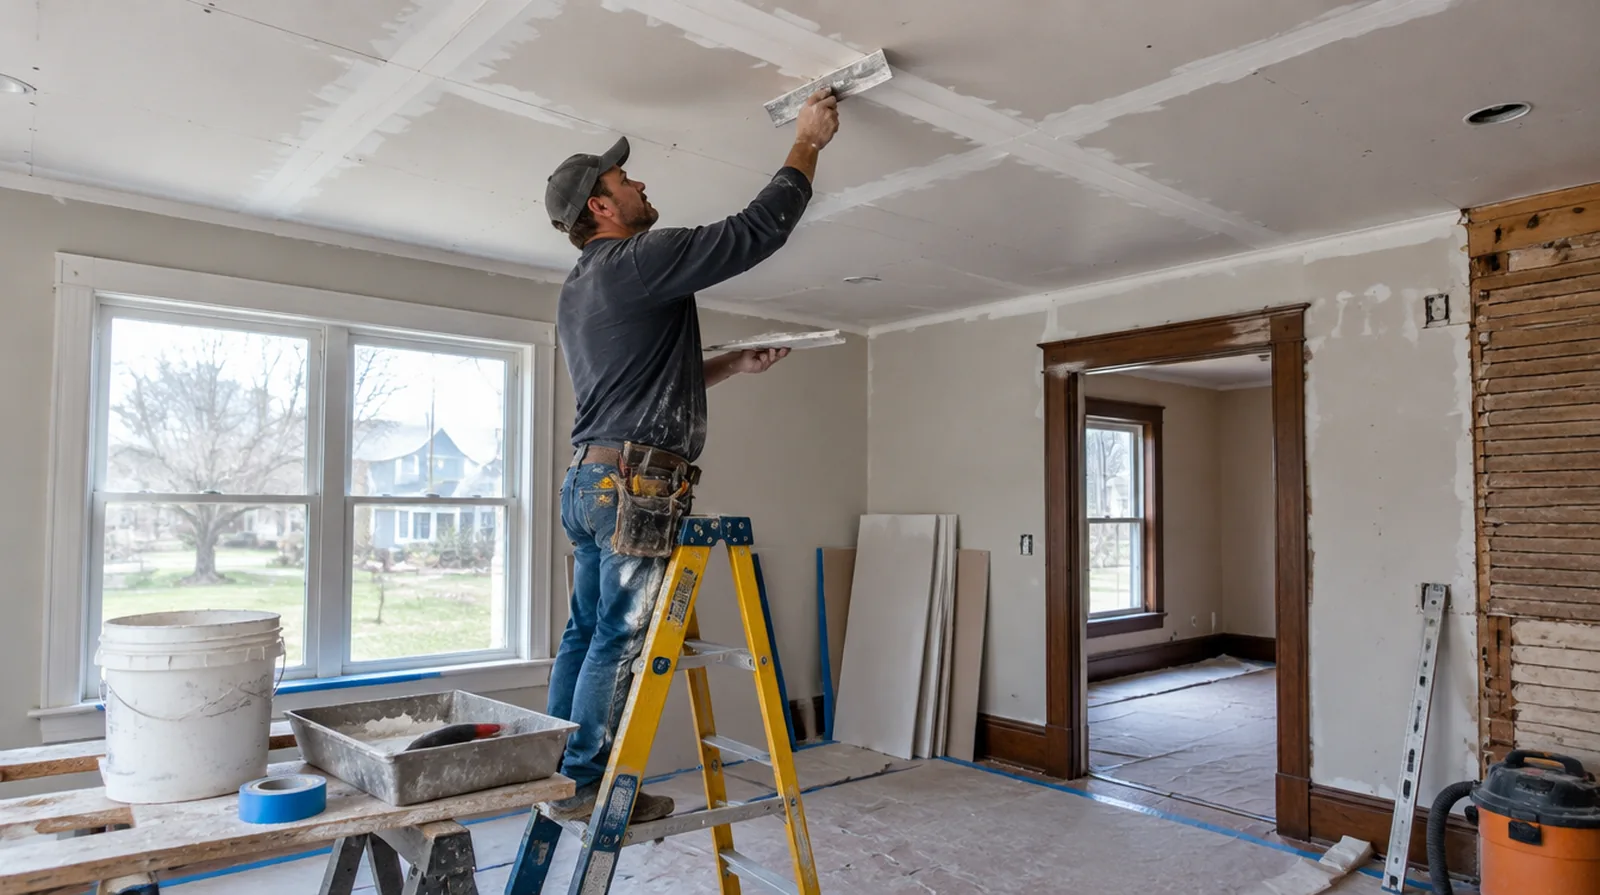
Discuss texture expectations
Determine whether the restored area should be smooth or carry an original decorative pattern. An agreed sample can show the likely limits of a local texture blend before the full repair proceeds. If occupancy must resume on a certain day, include the later primer and paint stages in the timetable as well as drywall installation and finishing.
Review the room after drying
Inspect from the doorway and from positions near the windows once the finishing layers have dried. Record any remaining paint preparation before the protection comes down and the space returns to use. If the finish paint is already chosen, share its sheen and color early because those choices influence how substrate preparation is judged.
Project context in Independence
Seams that crack every winter usually need better reinforcement, not just more compound. Independence has many older frame houses where stairwell walls move a little between humid summer and dry winter heating.
Scope questions before finishing
If the surface condition is uncertain, allow for an assessment that can distinguish stable material from layers that should not be covered.
When the history of a repair is uncertain, note when it became visible and whether its appearance has altered across differing seasons.
For a project involving a building manager, confirm access hours and protection requirements before promising a start date or a short completion window.
If the room will remain occupied, identify a workable separation between the protected room and the space that still needs daily access.
Where existing floors will remain, specify protective measures and review the path used by panels, equipment and finishing tools.
Where a neat final edge matters, agree whether the finish ends against existing trim or whether that trim will be removed and replaced.
When the work area includes a doorway, check the clearance for panel movement as well as the amount of space available for finishing tools.
When panel replacement exposes a cavity, resolve any required inspection before that opening is closed and the surface finishing begins.
For a limited patch requiring substantial setup, assess the complete package of access and protection rather than relating cost only to the opening size.
If the proposal requires return visits, identify the purpose of each stage and the intervals during which finishing material needs to remain undisturbed.
Where occupants have dust sensitivity concerns, agree containment and cleaning measures before settling the way the room will be staged.
At the handover inspection, review the finish from ordinary room positions using the lighting conditions that were agreed for the work.
Explore the Independence drywall overview for related options, or read the project planning information before arranging the next stage.
More planning details for Independence
Tell the assessor when the crack appears and whether it closes in summer. Front porches and stair landings are often tight, so ask how long boards will be brought in and whether some pieces should be cut outside. Old homes may have walls that are out of plumb, which affects how a new sheet meets the corner.